

The iMessage Sync app only works while your Mac is awake and online. A Cloud Mac never sleeps, never loses wifi, and never runs out of battery, so your messages always send and receive instantly.
Why We Recommend This
We strongly suggest renting a Mac in the cloud instead of using your personal laptop.- Never Miss a Beat: 100% uptime means your messages always send instantly.
- Zero Headaches: You never have to worry about dead batteries, sleep mode, or a dropped wifi signal.
- Always Available: Connect from any computer, anywhere, without keeping a physical Mac running at home.
- Easy Upgrades: Need more power? You can upgrade your Cloud Mac with one click.
Yes. Your iPhone is still required for iMessage and SMS forwarding. The Cloud Mac replaces your physical Mac, not your phone. Both must share the exact same Apple ID.
Step 1: Rent Your Cloud Mac
We’ve partnered with HostMyApple to give you a 15% discount on your first month. Grab the code below to use at checkout: 15% Discount Code (Click to Copy)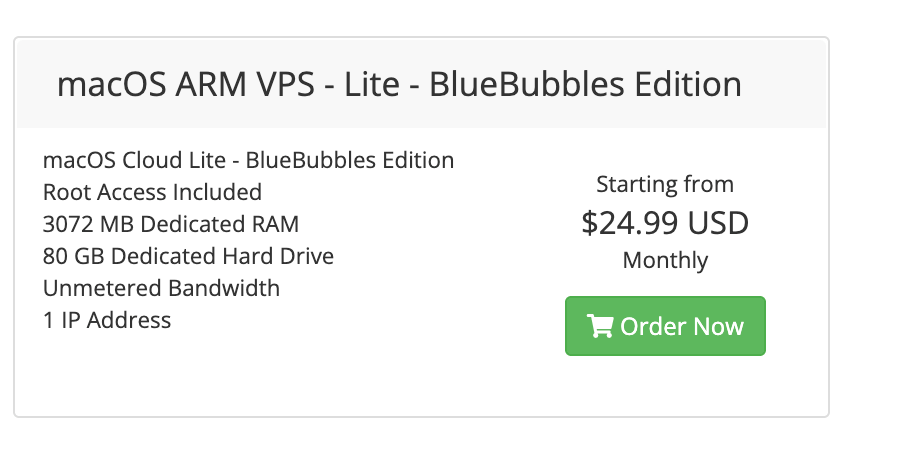
1
Click the button above to open HostMyApple’s store.
2
Choose a macOS plan. The macOS ARM VPS Lite plan is plenty for running the iMessage Sync app.
3
Enter the discount code
APR1526 at checkout to get 15% off your first month.4
Complete your order. HostMyApple will email you your Cloud Mac login details, usually within a few minutes.
The entry-level “Lite” plan handles the iMessage Sync app comfortably. You only need a bigger plan if you intend to run other heavy software on the same Mac. You can always upgrade later.
Step 2: Connect to Your Cloud Mac
Once your Cloud Mac is ready, HostMyApple emails you everything you need to connect: a host (IP address), username, and password. You can connect with either of two free remote desktop clients:- NoMachine (recommended): works on every HostMyApple Cloud Mac out of the box - just add a connection profile with the IP, username, and password from your welcome email.
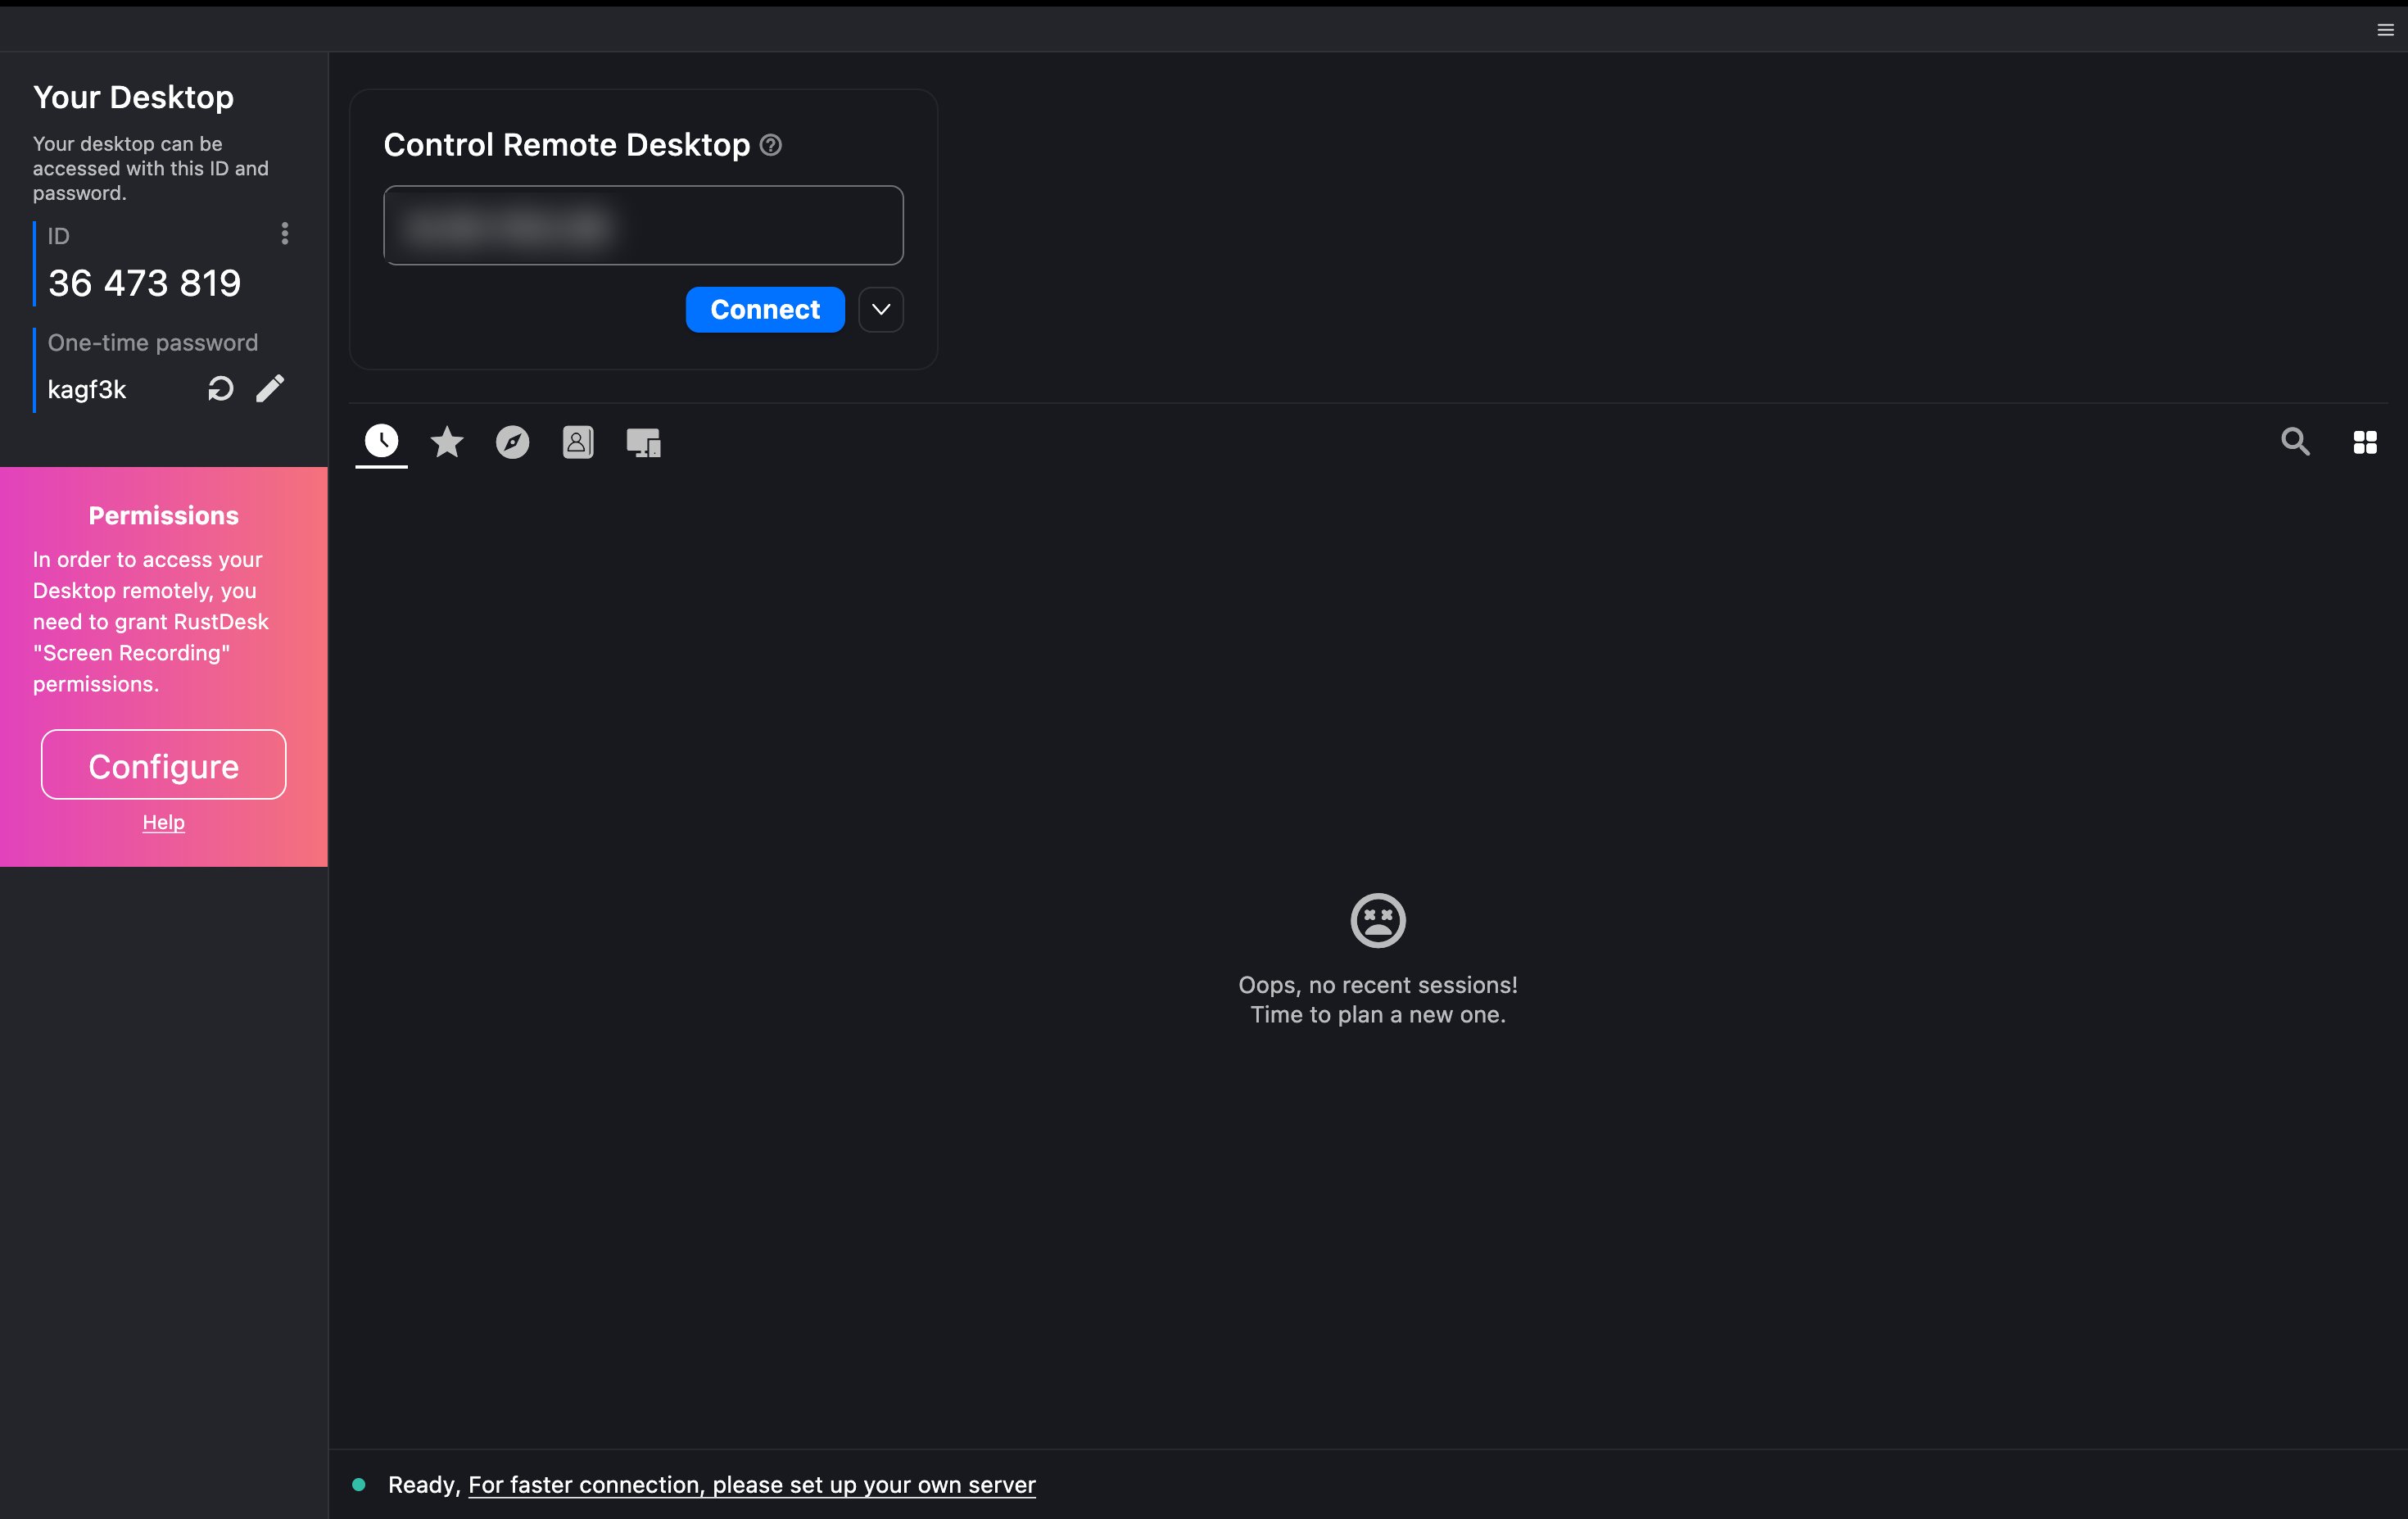
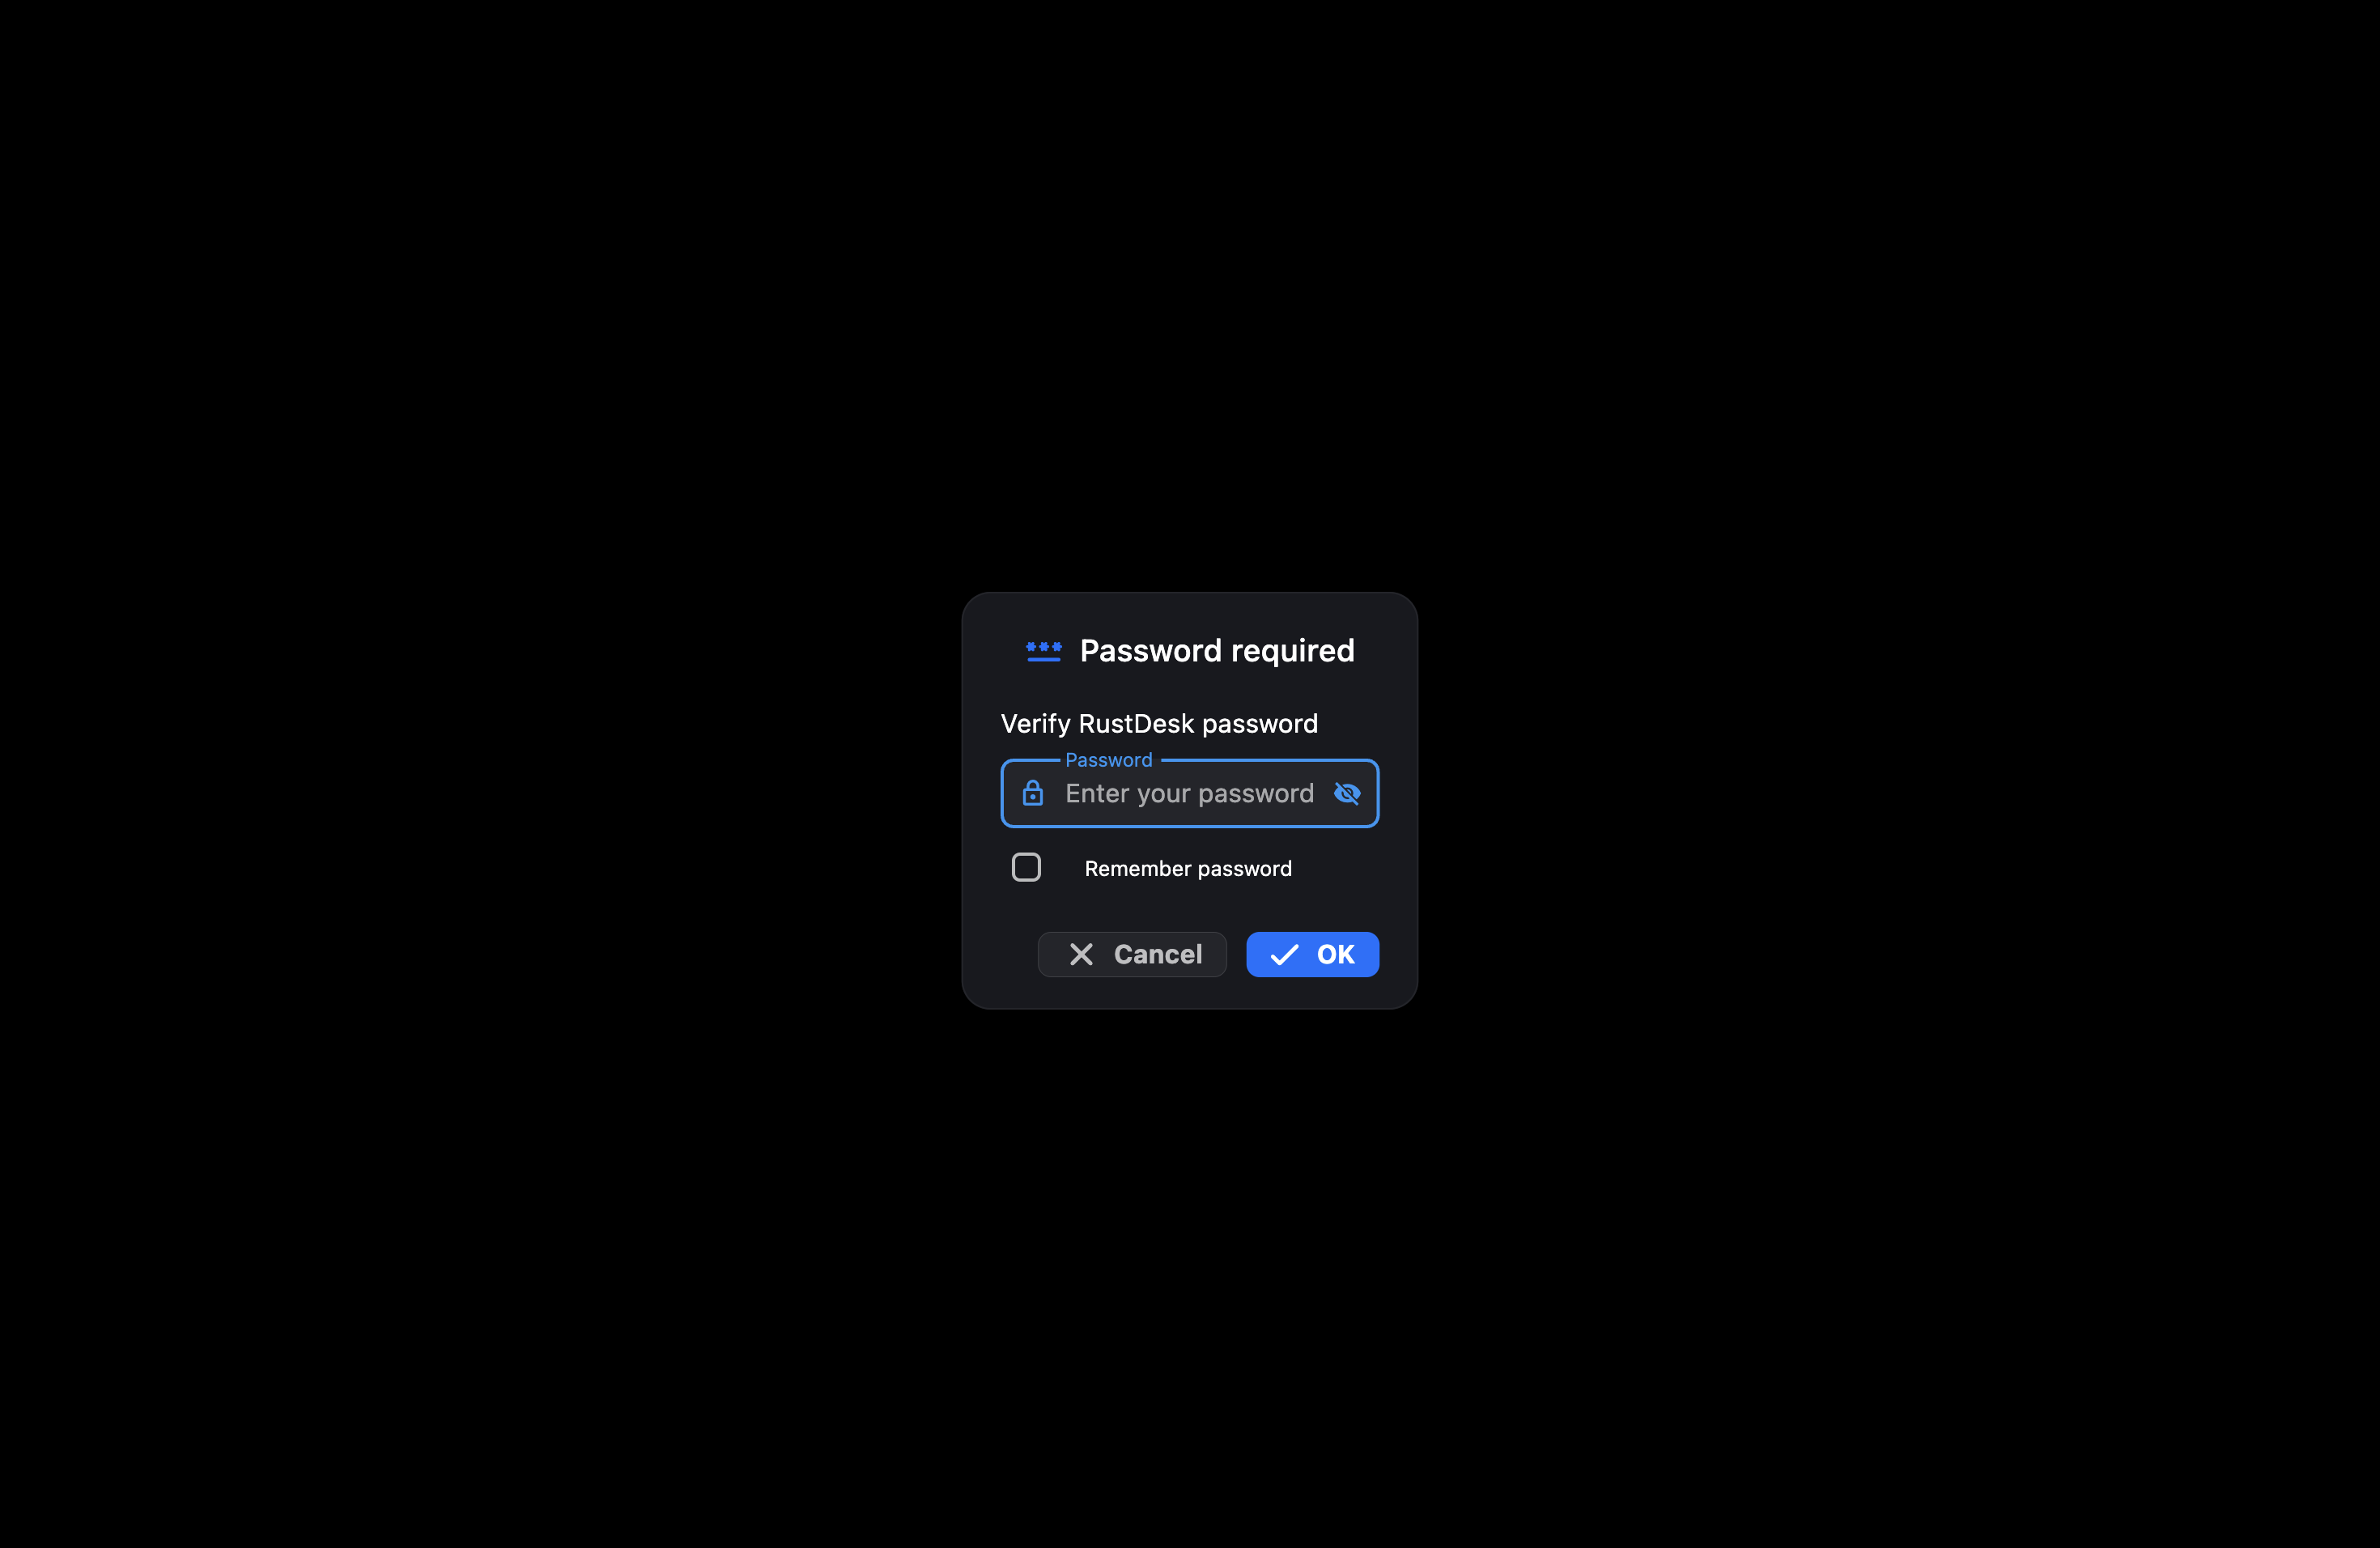
- RustDesk (alternative): a lighter option with no connection profile to set up, but HostMyApple support has to install it on your Cloud Mac first.
- NoMachine (Recommended)
- RustDesk (Alternative)
2.1 Download and Install NoMachine2.2 Add a New Connection2.3 Log In to Your Cloud MacAfter a few seconds you’ll be looking at a full Mac desktop running in the cloud - just like sitting in front of a real Mac.
1
Go to nomachine.com/download and download the free NoMachine client for your operating system (Windows / macOS / Linux).
2
Run the installer and follow the prompts. After installation, NoMachine will appear in your apps.
1
Open NoMachine and click Add (or New connection) in the top right.
2
Fill in the Machine address screen using the details from your HostMyApple welcome email:
- Name: anything you want (e.g. “My Cloud Mac”)
- Host: the IP address from your email (for example,
8.30.153.52) - Port:
4000(this is the NoMachine default - leave it unless your email says otherwise) - Protocol:
NX
3
Click Add in the top right to save the connection.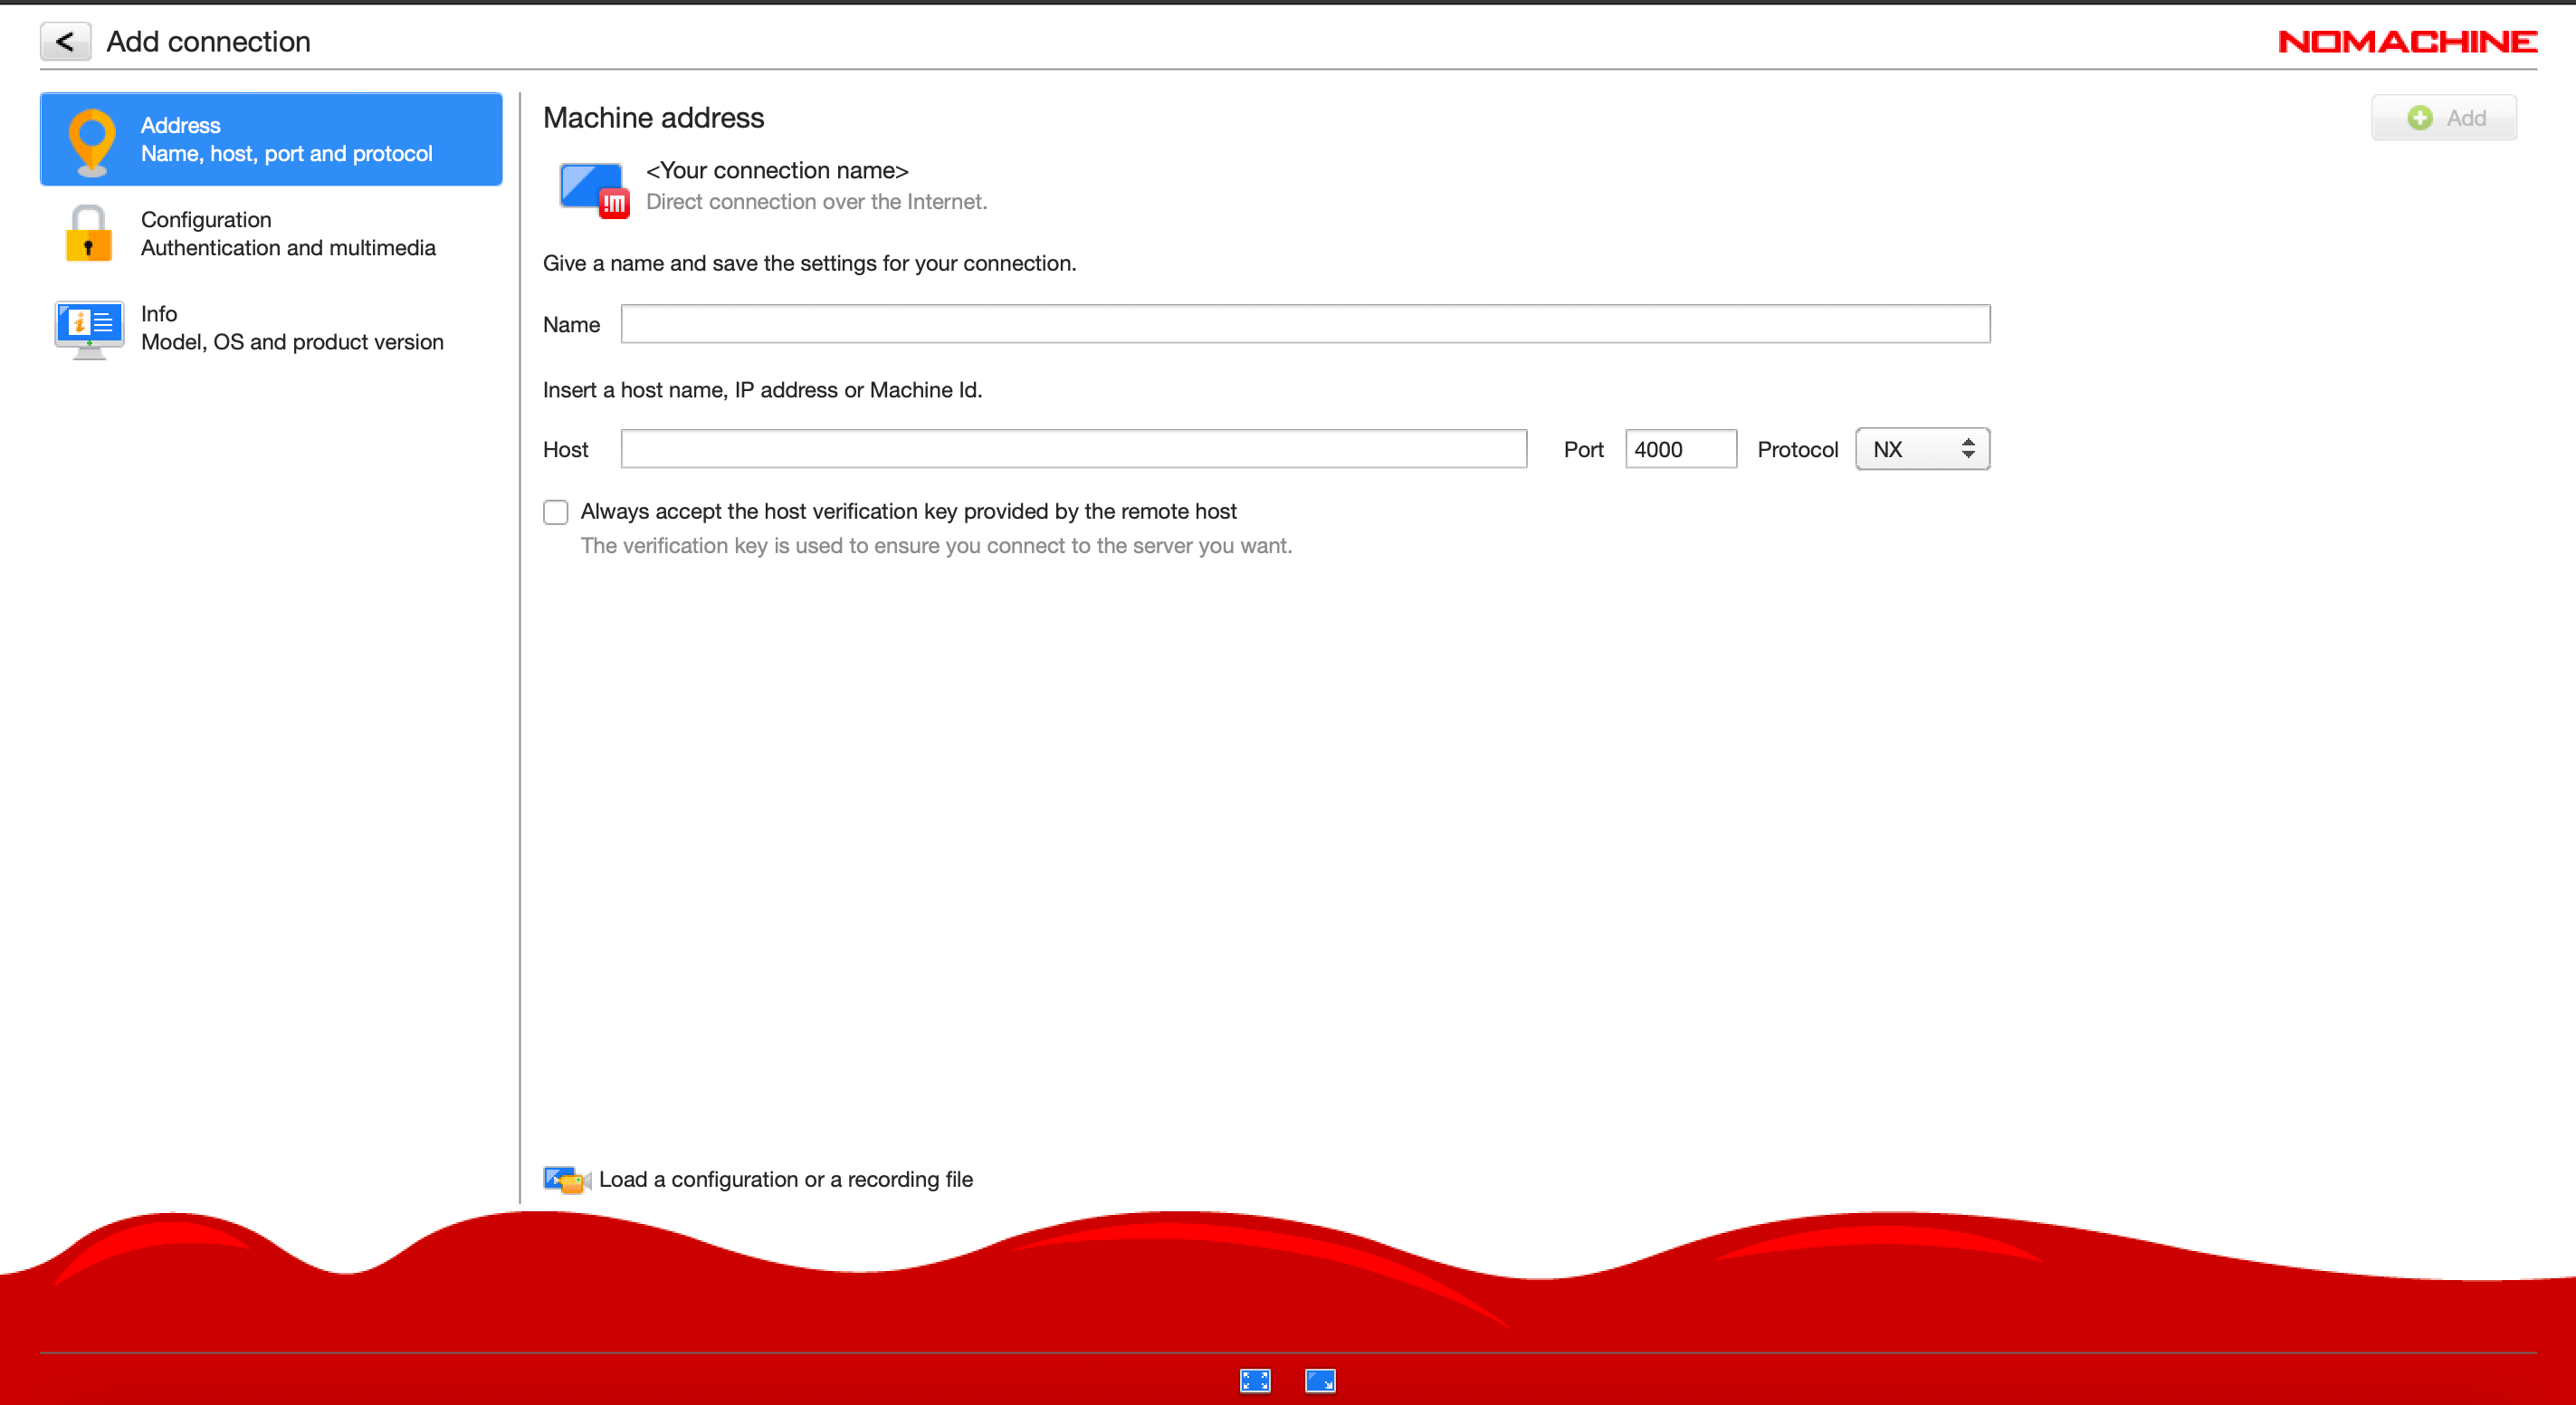
1
Double-click your saved connection in NoMachine. It will start connecting to your Cloud Mac.
2
When prompted, enter the Username and Password from your HostMyApple email.
3
(Optional) Check Save this password in the connection file so you don’t have to type it every time.
4
Click OK.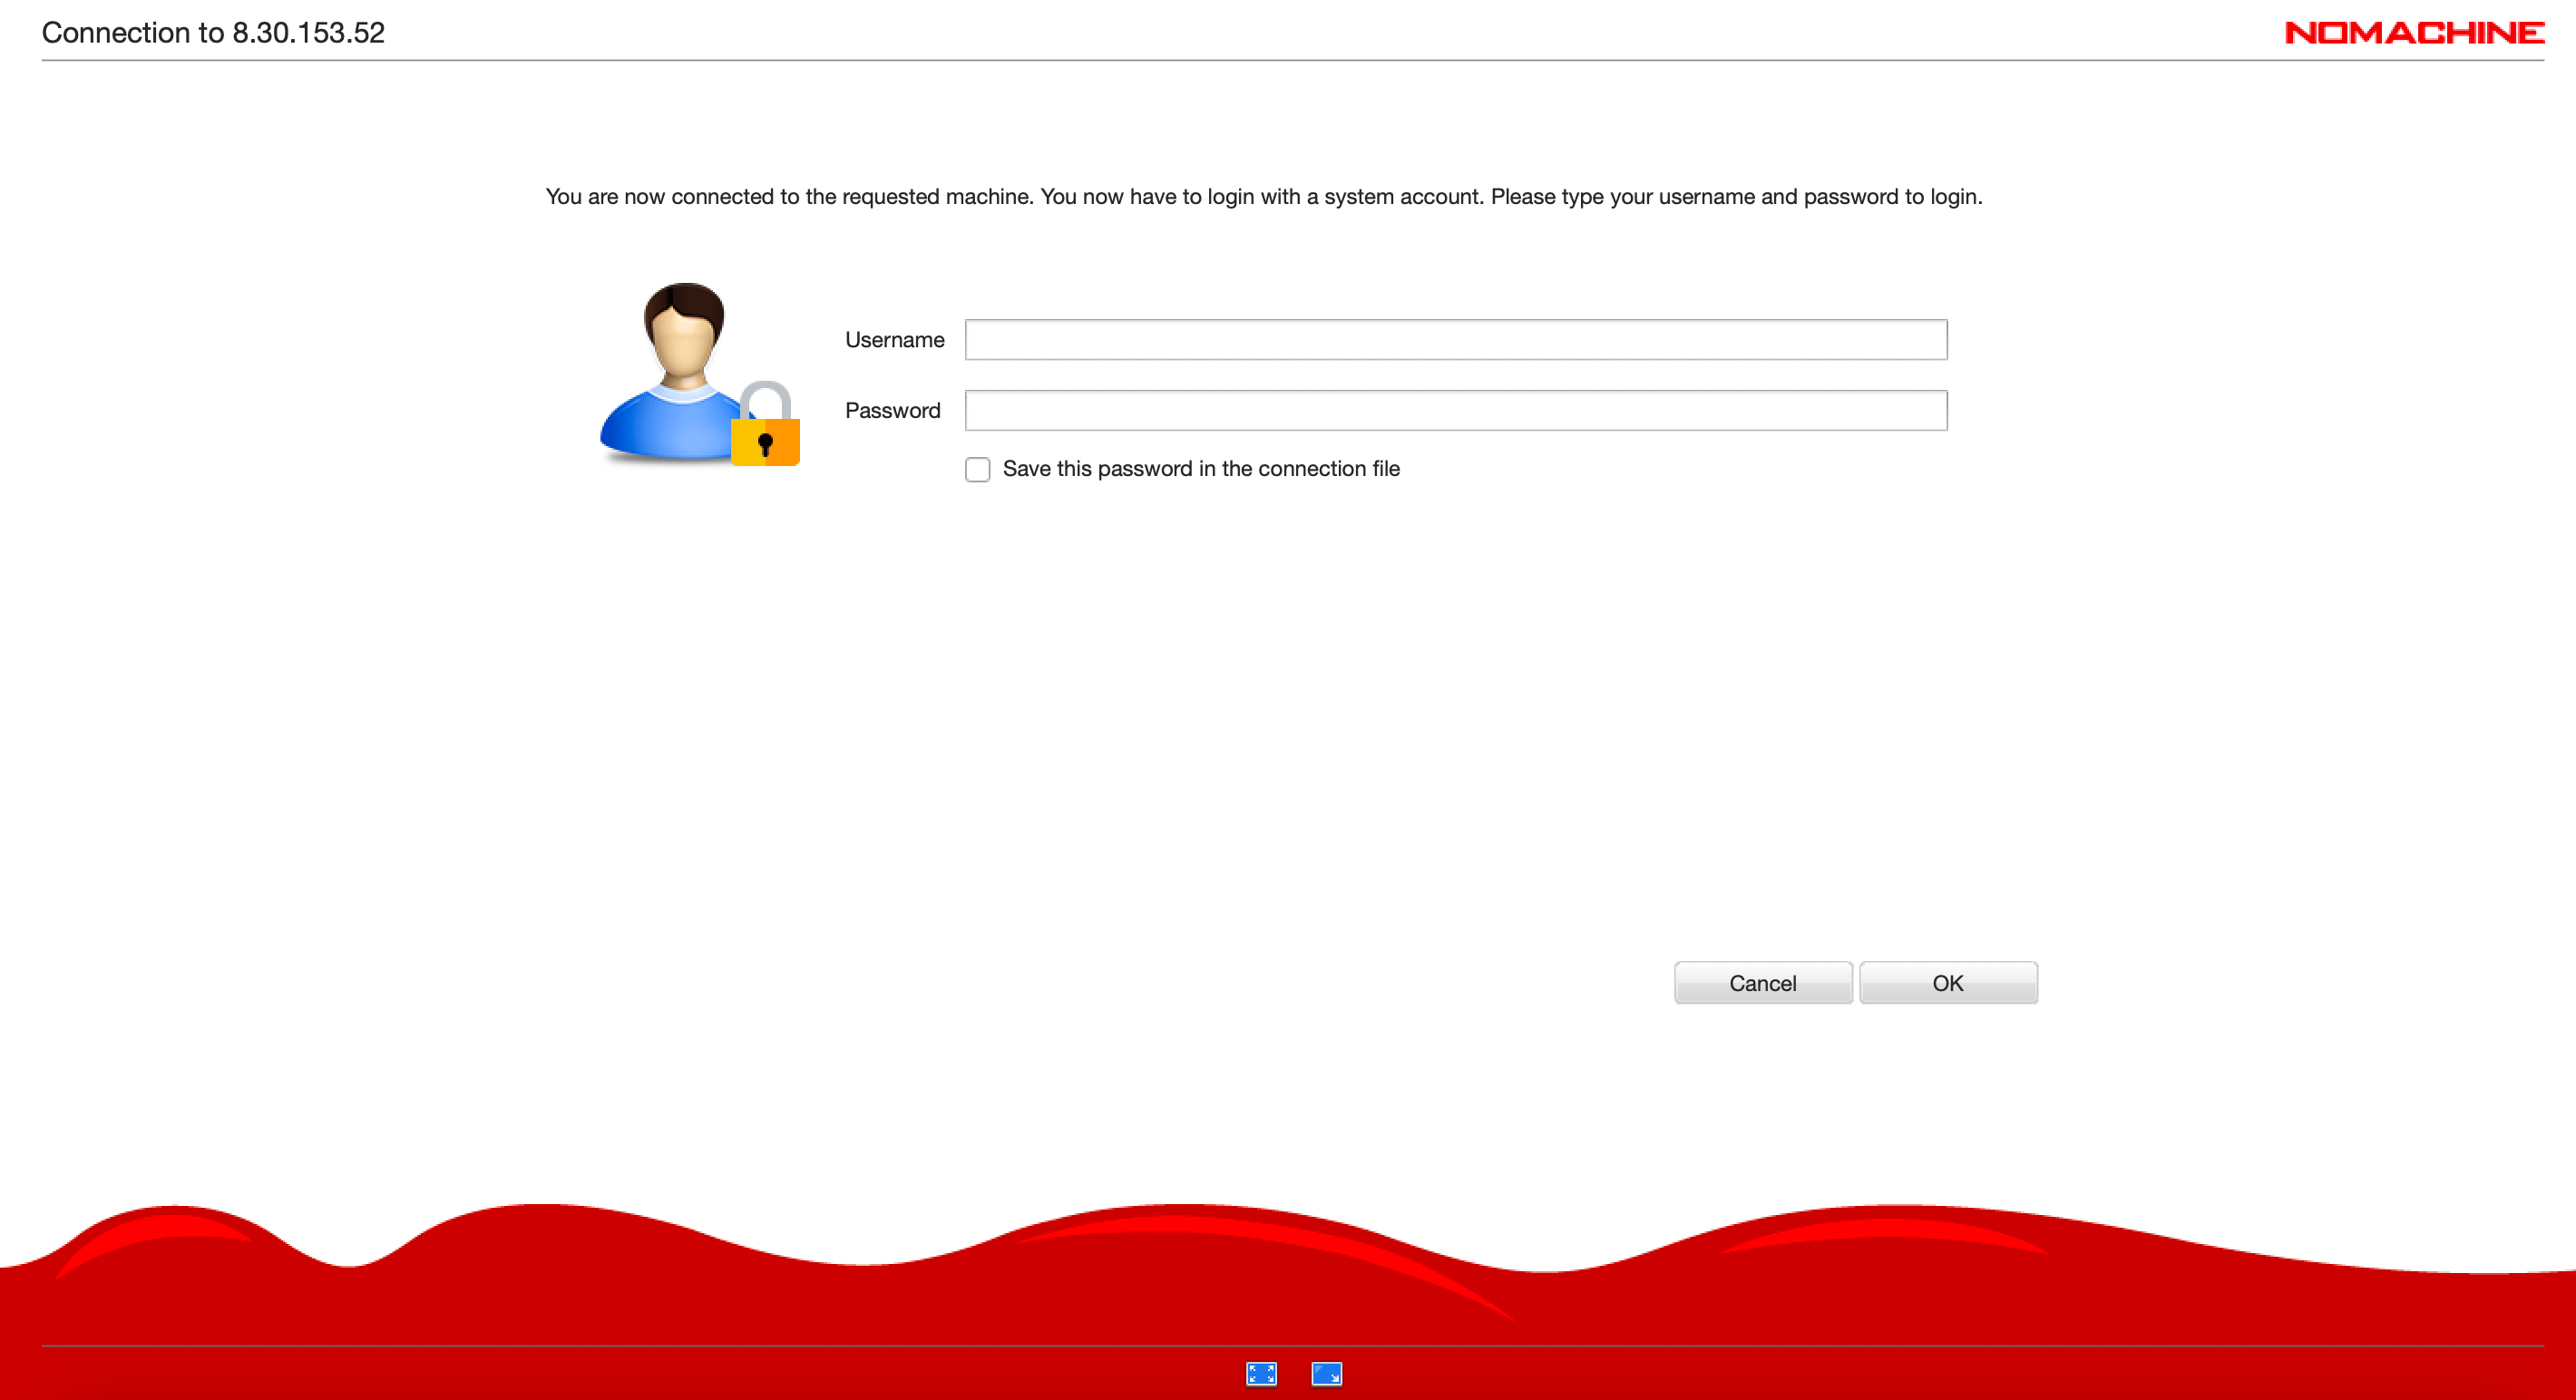
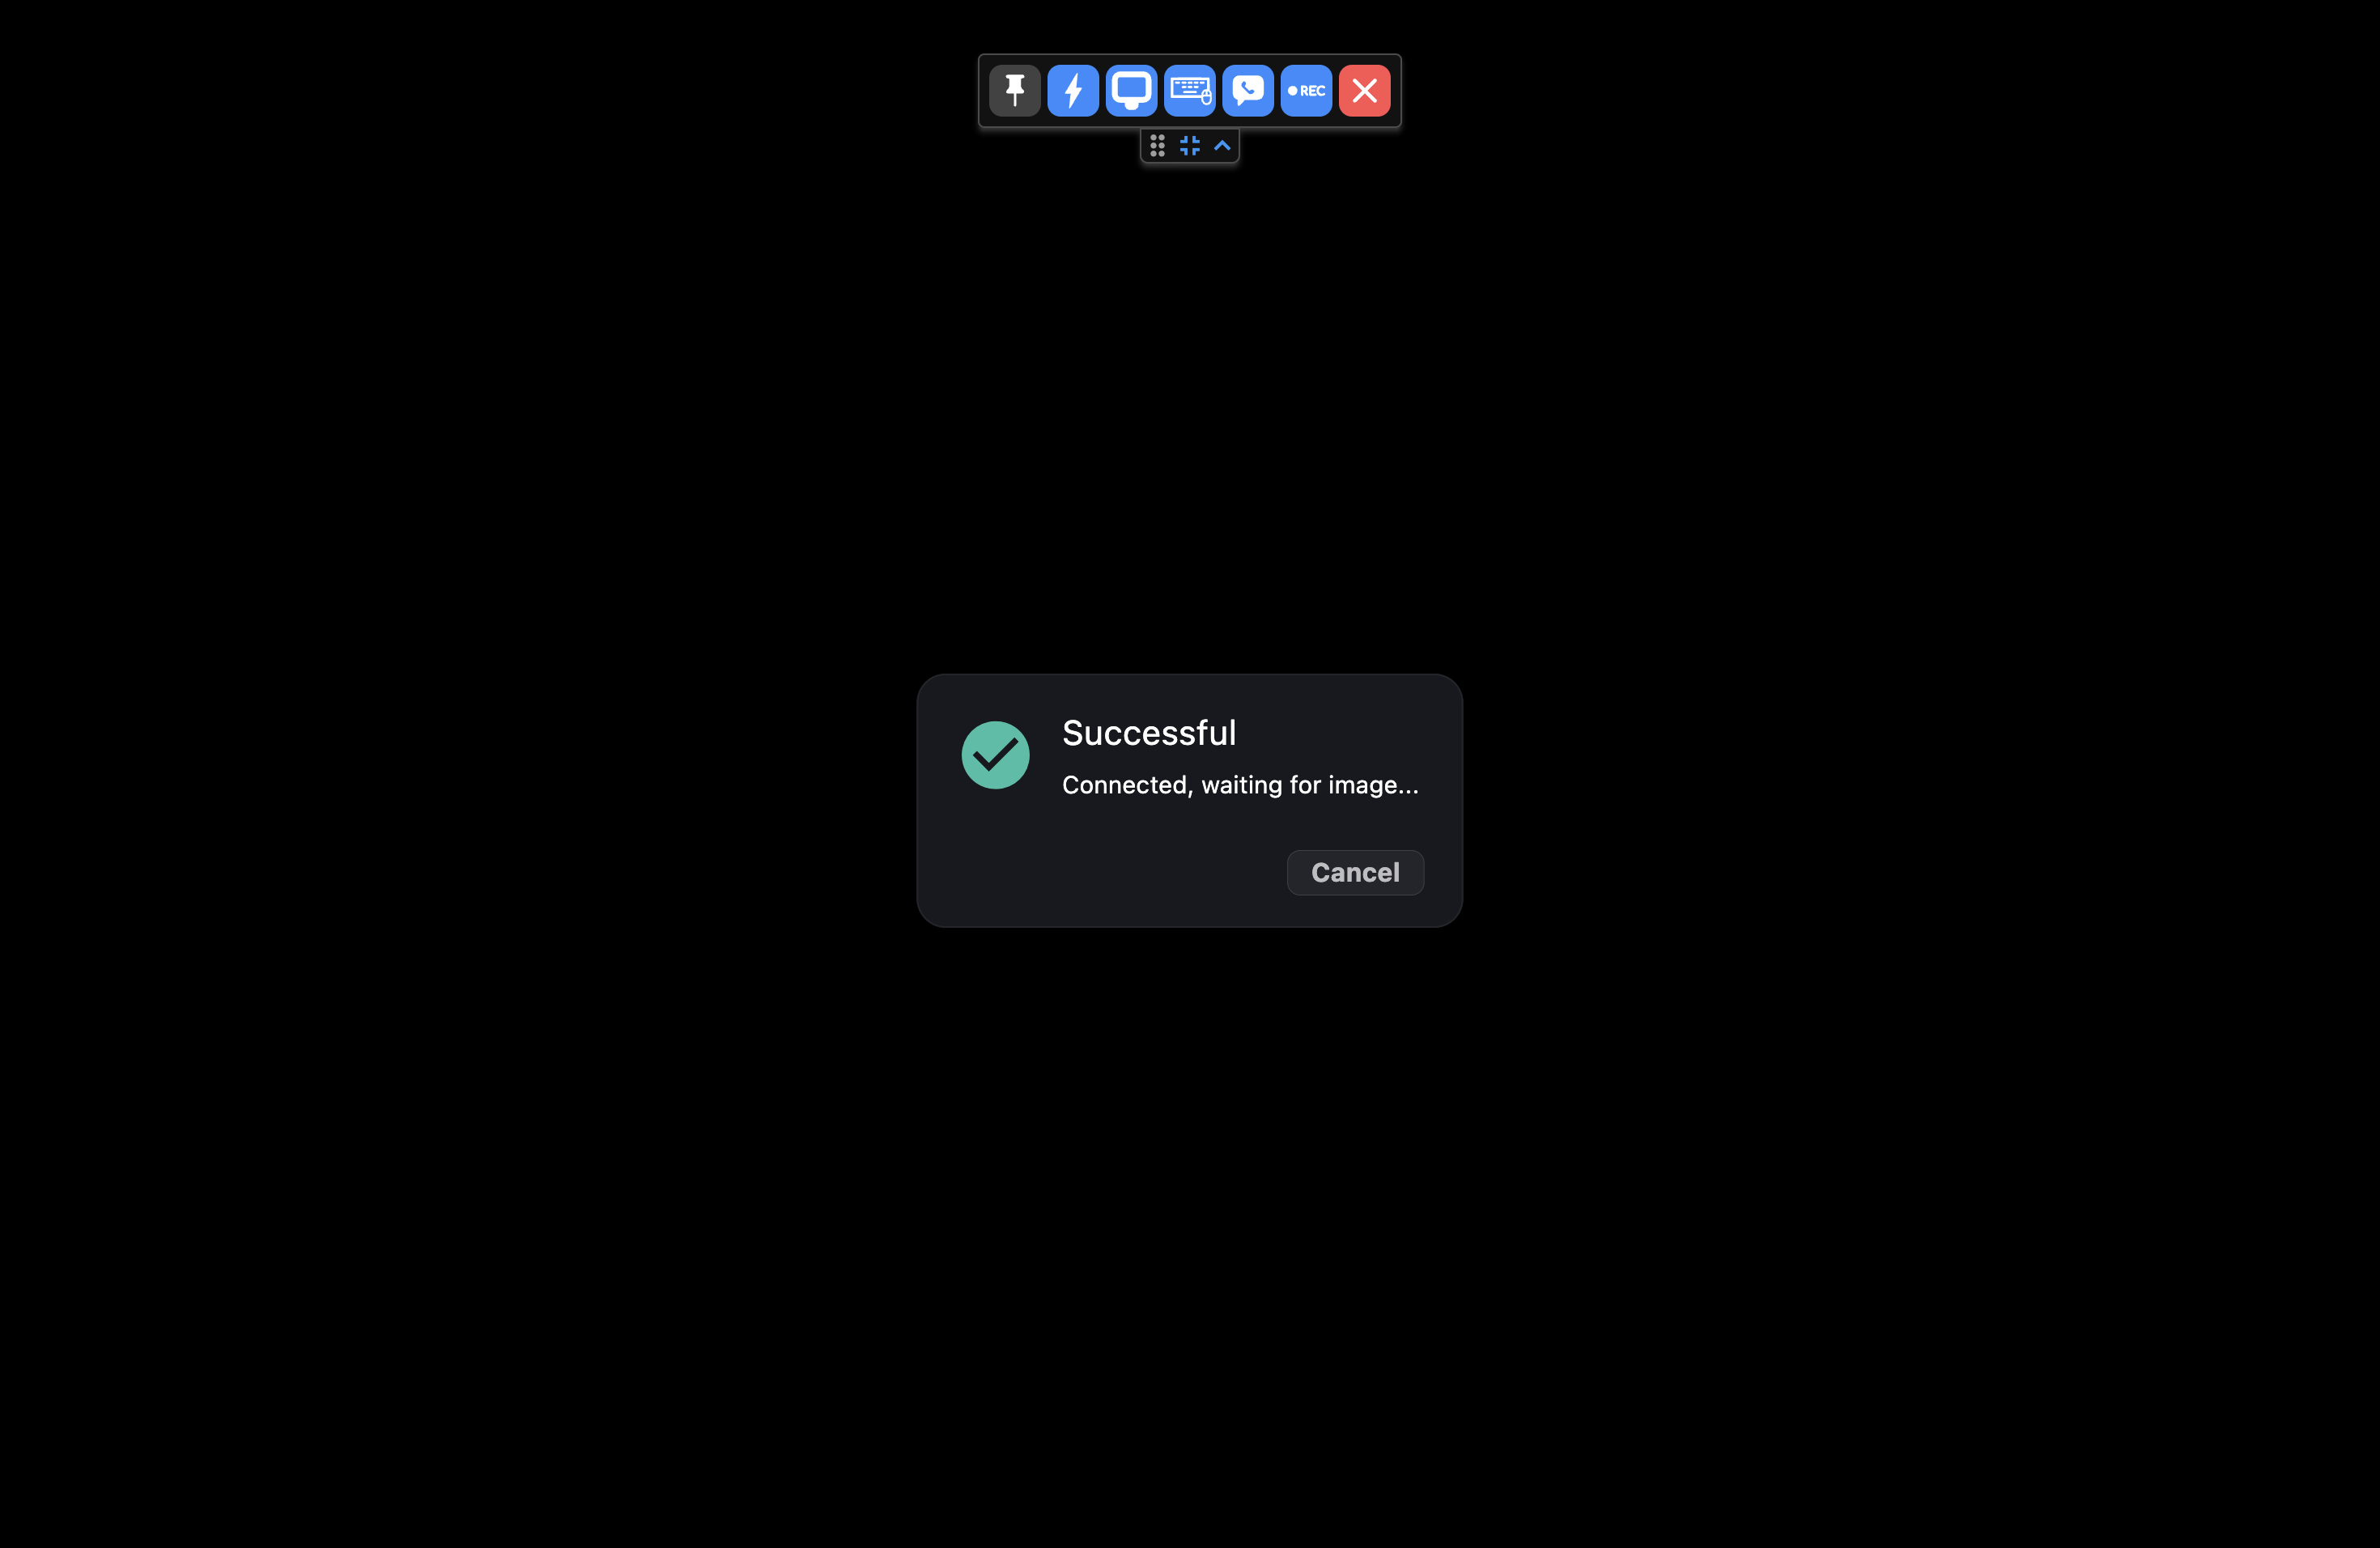
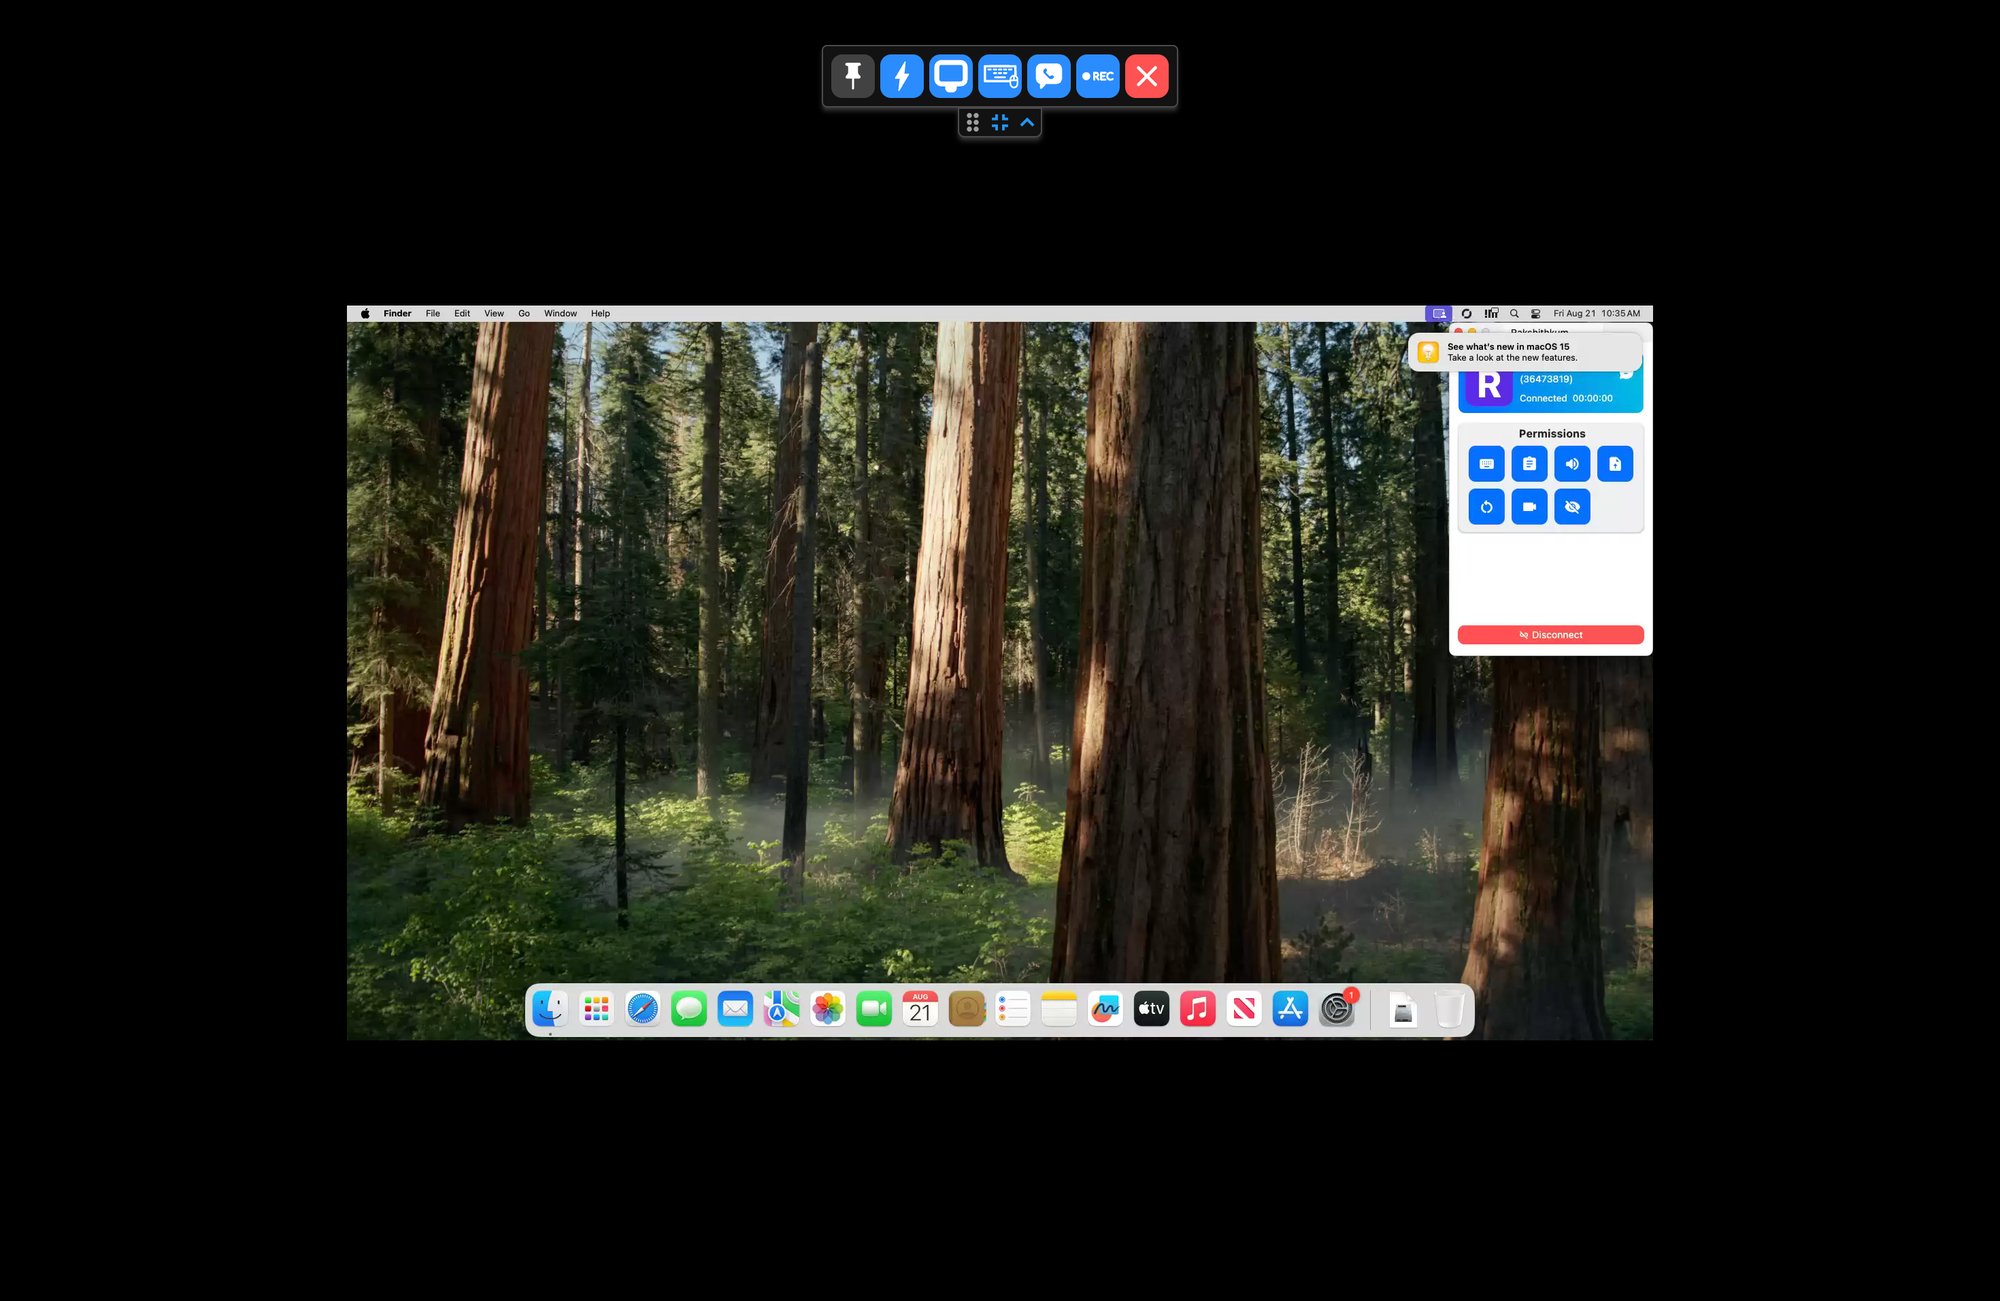
Look at the welcome email HostMyApple sent you. It lists the IP, username, and password for your Cloud Mac. Copy these exactly - even an extra space will cause the connection to fail.
Once connected, your Cloud Mac behaves exactly like a physical Mac. Everything in the iMessage Full Setup guide works the same way here - Messages app, Apple ID sign-in, SMS forwarding, and all.
Step 3: Sign In With Your Apple ID
Your Cloud Mac needs to be signed in to the same Apple ID as your iPhone.1
On the Cloud Mac, open the Messages app.
2
Sign in with the exact same Apple ID you use on your iPhone.
3
If prompted, approve the sign-in from your iPhone and enter the verification code.
4
Go to Messages → Settings → iMessage and confirm:
- Enable Messages in iCloud is checked.
- Under “You can be reached for messages at,” your phone number is checked.
- Under “Start new conversations from,” your phone number is selected (NOT your email).
- Your email address is unchecked.
Don’t forget to add your Cloud Mac to Text Message Forwarding on your iPhone (Settings → Messages → Text Message Forwarding) so green-bubble SMS messages route through it too.
Step 4: Install the iMessage Sync App
From here, the setup is identical to a physical Mac:1
Follow Step 4 of the iMessage Full Setup guide to download and install the iMessage Sync app on your Cloud Mac.
2
Grant Messages access and Full Disk Access when prompted.
3
Paste your Activation Code from CRM and click Activate Device.
Keeping Your Cloud Mac Awake
Cloud Macs are always powered on, but it’s still worth confirming the Mac itself won’t go to sleep:1
Open System Settings → Energy (or Displays/Battery).
2
Turn on Prevent automatic sleeping when the display is off.
3
Turn off Power Nap.
4
Pro Tip
Install the free Amphetamine app from the Mac App Store to guarantee the Mac stays awake.
Frequently Asked Questions
Do I need to keep my own computer on?
Do I need to keep my own computer on?
No. That’s the whole point. The Cloud Mac runs in a data center, so once it’s set up you can shut your own laptop and the messages keep flowing.
Can I use a Cloud Mac for multiple iMessage accounts?
Can I use a Cloud Mac for multiple iMessage accounts?
Each Cloud Mac is tied to one Apple ID. If you manage several numbers, see the Number Selection guide and plan a Cloud Mac per account.
What happens if my internet goes down?
What happens if my internet goes down?
The Cloud Mac uses the data center’s connection, not yours. Your home or office internet dropping won’t stop your messages, only the data center would, which is extremely rare.
With your Cloud Mac connected, head back to the iMessage Full Setup guide to finish connecting CRM and send your first test message.
Support
If you need help with the setup or onboarding:- WhatsApp Support: Chat on WhatsApp
- Email: support@goghl.ai